Step-by-Step: Creating Stunning 3D Visualisations for Massing


Understanding the Basics of 3D Visualisations for Massing
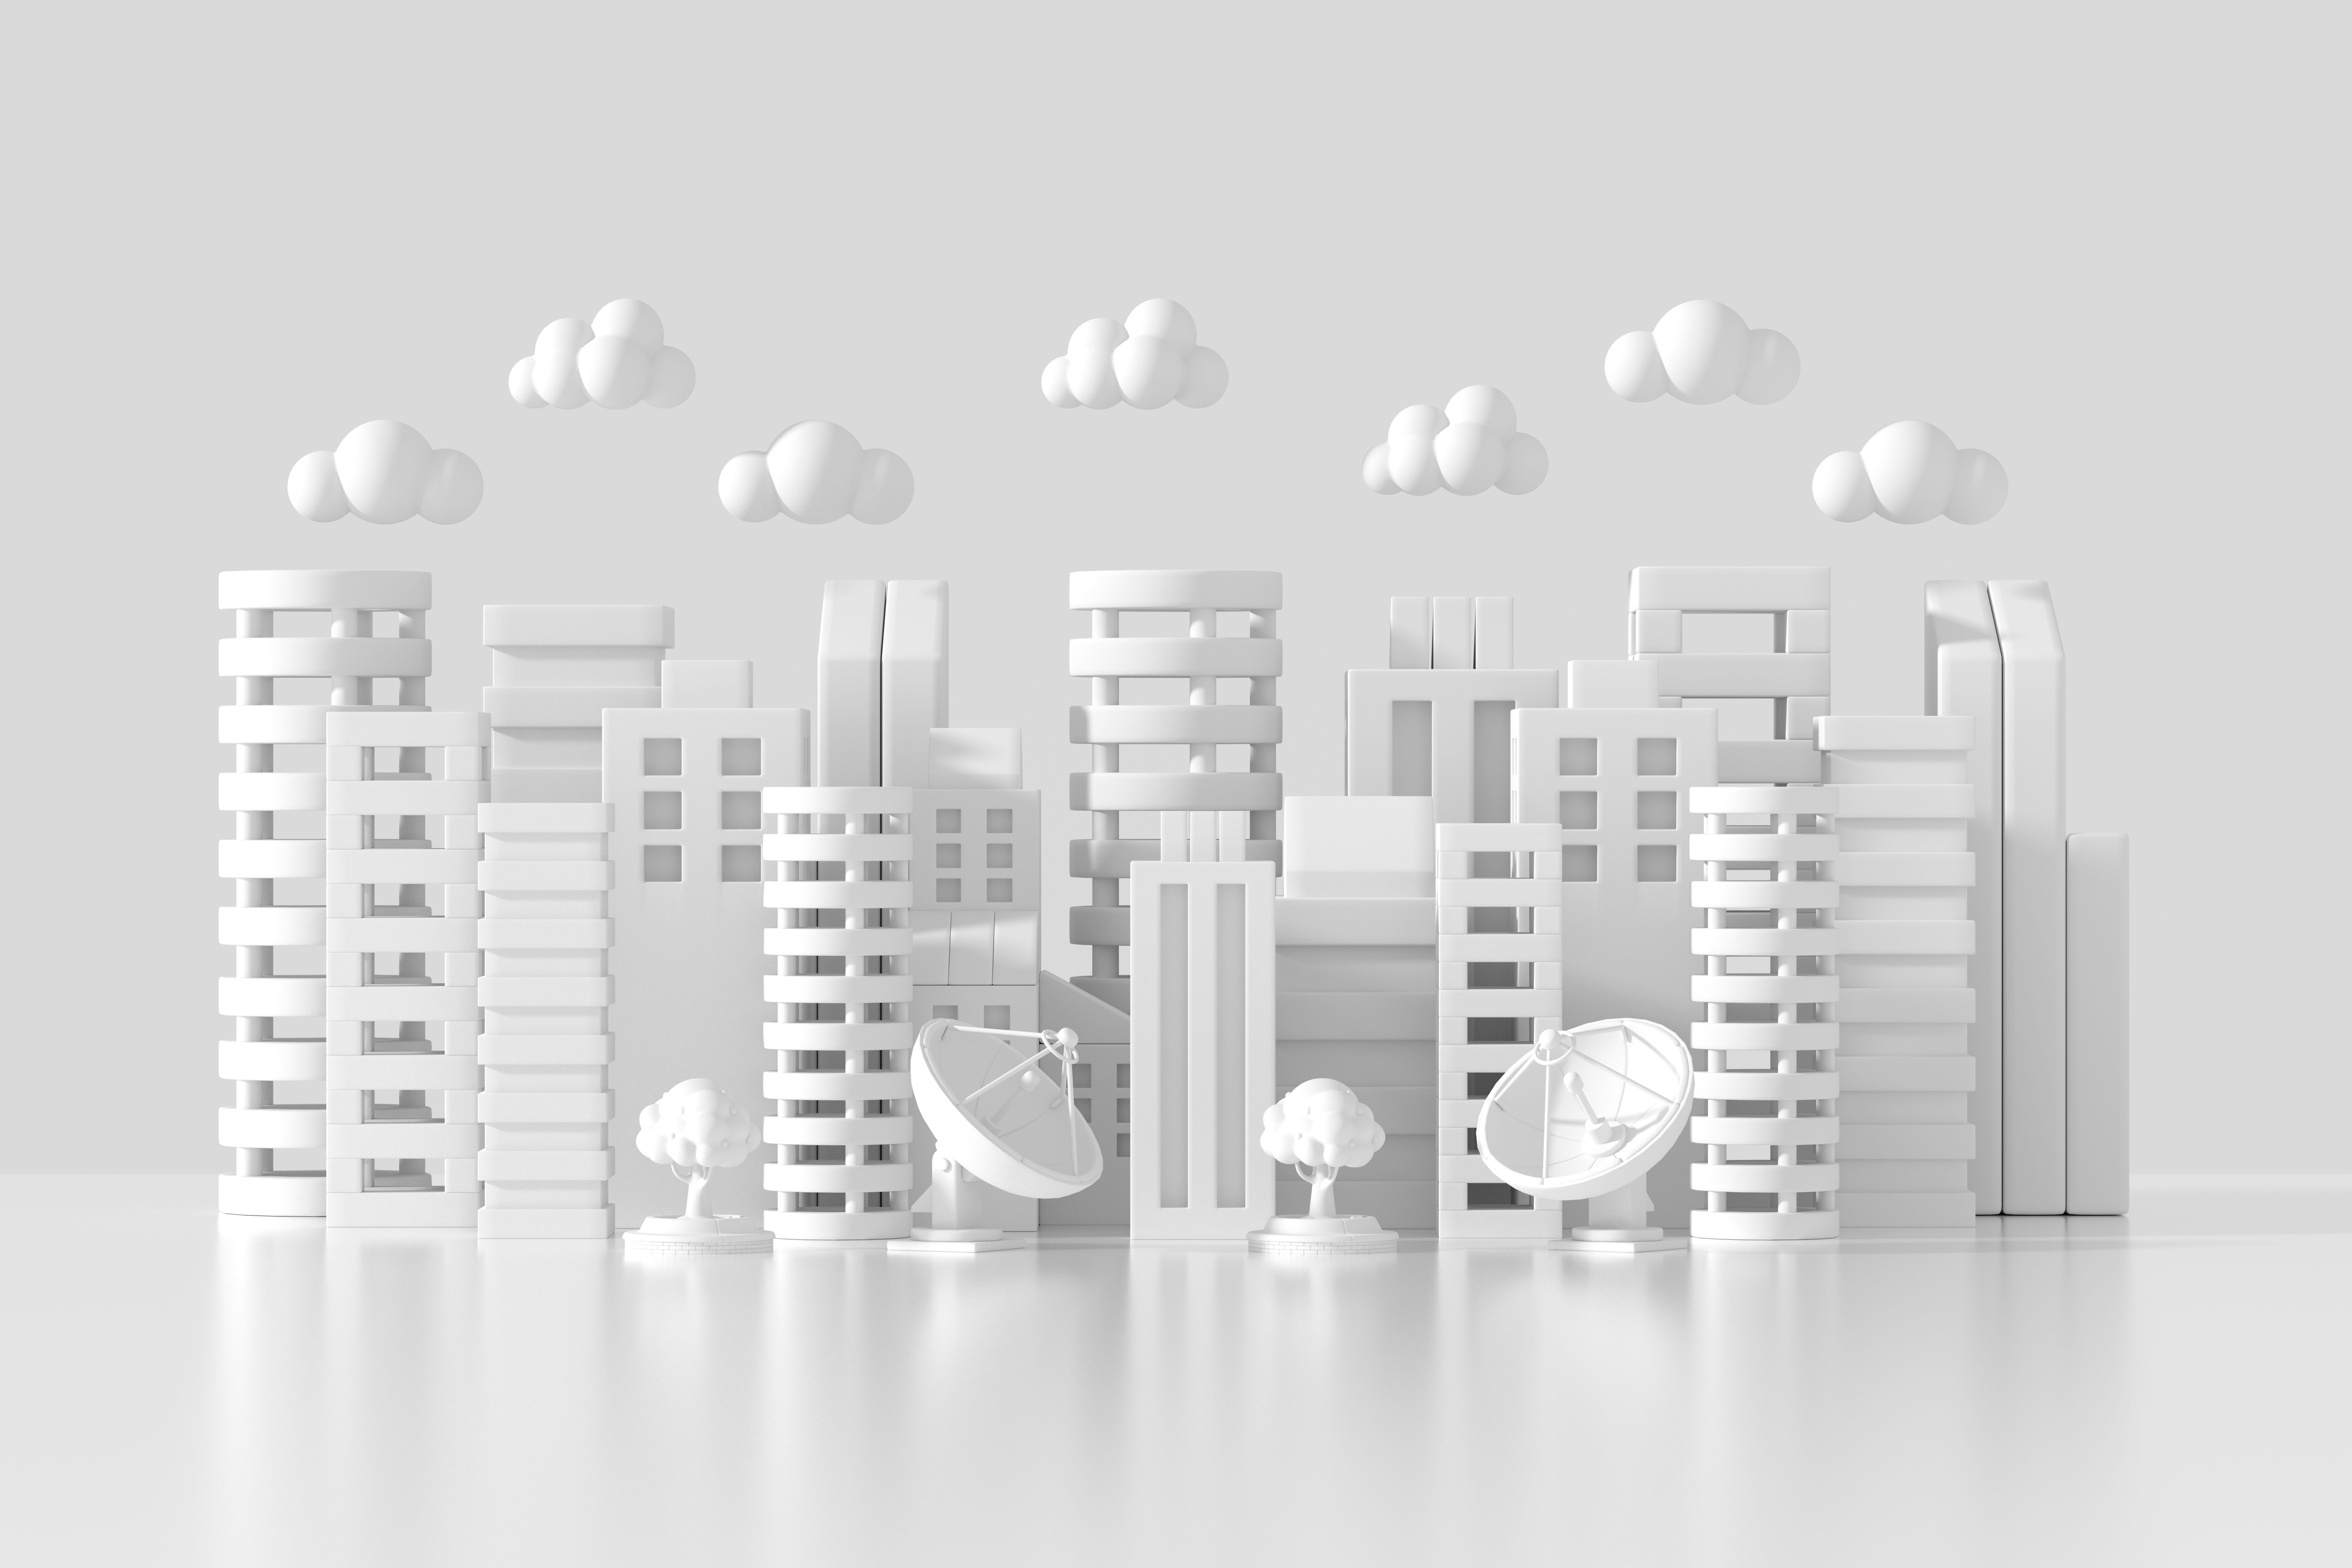
Creating stunning 3D visualisations for massing can seem daunting, especially for beginners. Massing, in architectural terms, refers to the general shape and size of a building. It's a crucial step in the design process, helping architects and designers communicate their ideas effectively.
Before diving into the technical aspects, it's essential to grasp the basics. Understanding the purpose and significance of massing in architecture will set a solid foundation for your visualisation projects. Massing models help in exploring the relationship between a building and its environment, along with the impact of different forms and volumes.
Choosing the Right Software
The first step in creating 3D visualisations is selecting the right software. There are numerous options available, each with its strengths and weaknesses. Some popular choices include SketchUp, Revit, and Rhino. These tools offer robust features for creating detailed and accurate massing models.
Consider your specific needs and project requirements when choosing software. If you're new to 3D modeling, opting for user-friendly software with a supportive community and ample tutorials can be beneficial. As you gain experience, you can explore more advanced tools with complex features.
Setting Up Your Project
Once you've chosen your software, it's time to set up your project. Begin by gathering all necessary information, including site plans, building dimensions, and any other relevant data. This information will guide your design and ensure accuracy in your model.
Organize your workspace by creating layers or groups for different elements of the massing model. This will help in managing the complexity of the design and make the editing process more efficient.

Creating the Massing Model
With your project set up, start building the massing model by creating basic shapes that represent the building's form. Focus on the overall volume and silhouette of the structure. This stage is about experimenting with different forms and understanding how they interact with the surrounding space.
Use the tools available in your software to manipulate shapes easily. Adjust heights, widths, and depths to achieve the desired proportions. Remember, the goal is to establish a visual hierarchy that reflects the design's intent.
Refining the Details
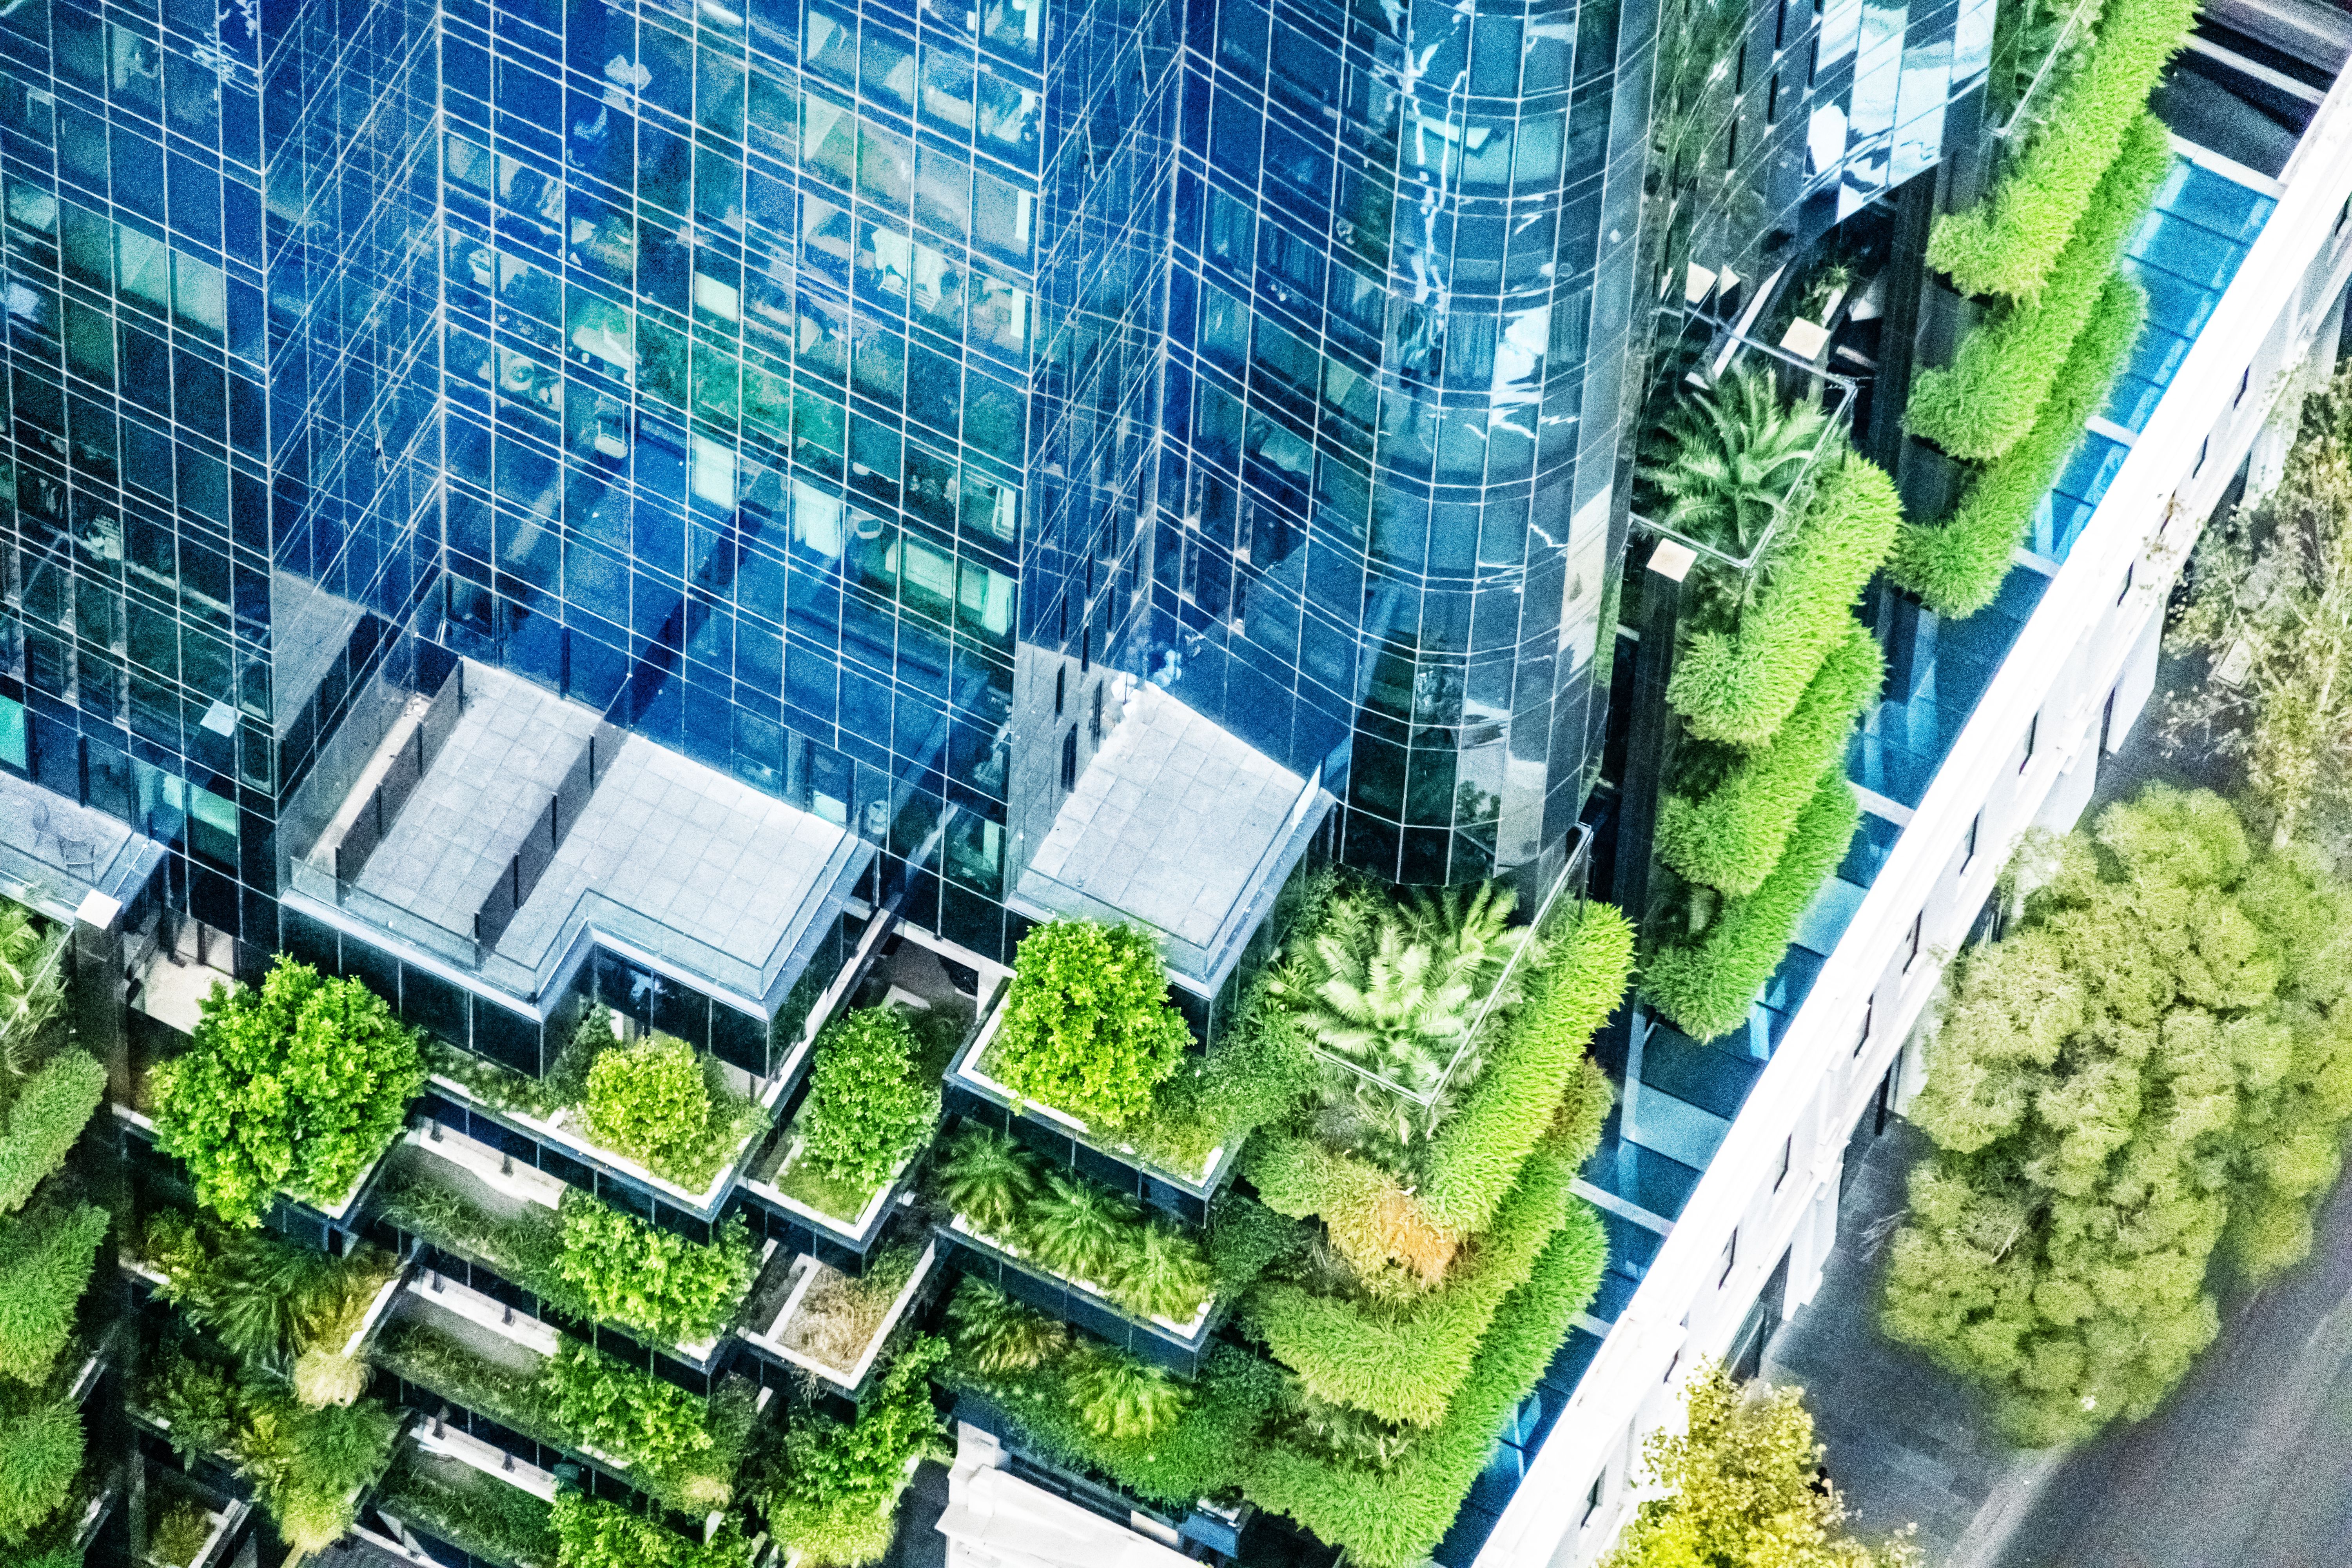
After establishing the basic massing, refine the model by adding more details. This includes incorporating elements like windows, doors, and other architectural features. Pay attention to the textures and materials, as they play a significant role in enhancing the visual appeal of the model.
At this stage, it's crucial to maintain a balance between detail and simplicity. Too much detail can overwhelm the viewer, while too little can make the model appear unrealistic.
Rendering and Presentation
Once the massing model is complete, the next step is rendering. This process involves adding lighting, shadows, and textures to bring the model to life. Rendering software like V-Ray or Lumion can help achieve photorealistic results.
Consider the mood and atmosphere you want to convey in your visualisation. Experiment with different lighting settings and camera angles to highlight the most important aspects of your design.
Final Touches and Review
Before presenting your visualisation, review the model for any errors or inconsistencies. This is the time to make final adjustments and ensure everything aligns with the project brief. Attention to detail can make a significant difference in the final presentation.
Share your visualisation with colleagues or clients to gather feedback. Constructive criticism can provide valuable insights and help refine your design further.
Conclusion
Creating stunning 3D visualisations for massing is a rewarding process that combines creativity and technical skill. By following these steps, you can produce compelling visualisations that effectively communicate your architectural concepts.
Remember, practice and experimentation are key to mastering 3D massing visualisations. As you gain experience, you'll develop your unique style and approach, making your designs stand out.